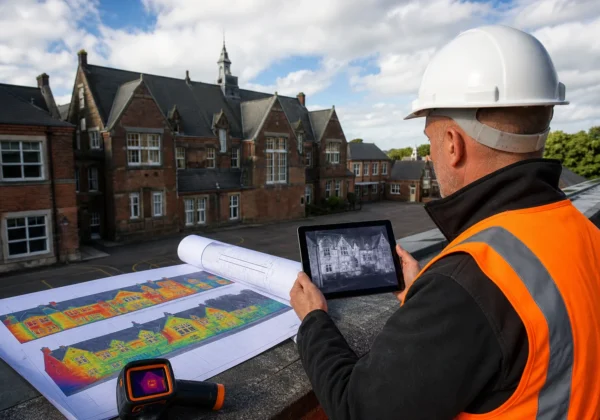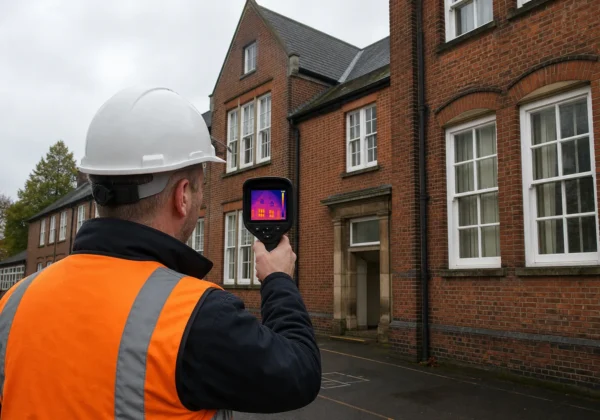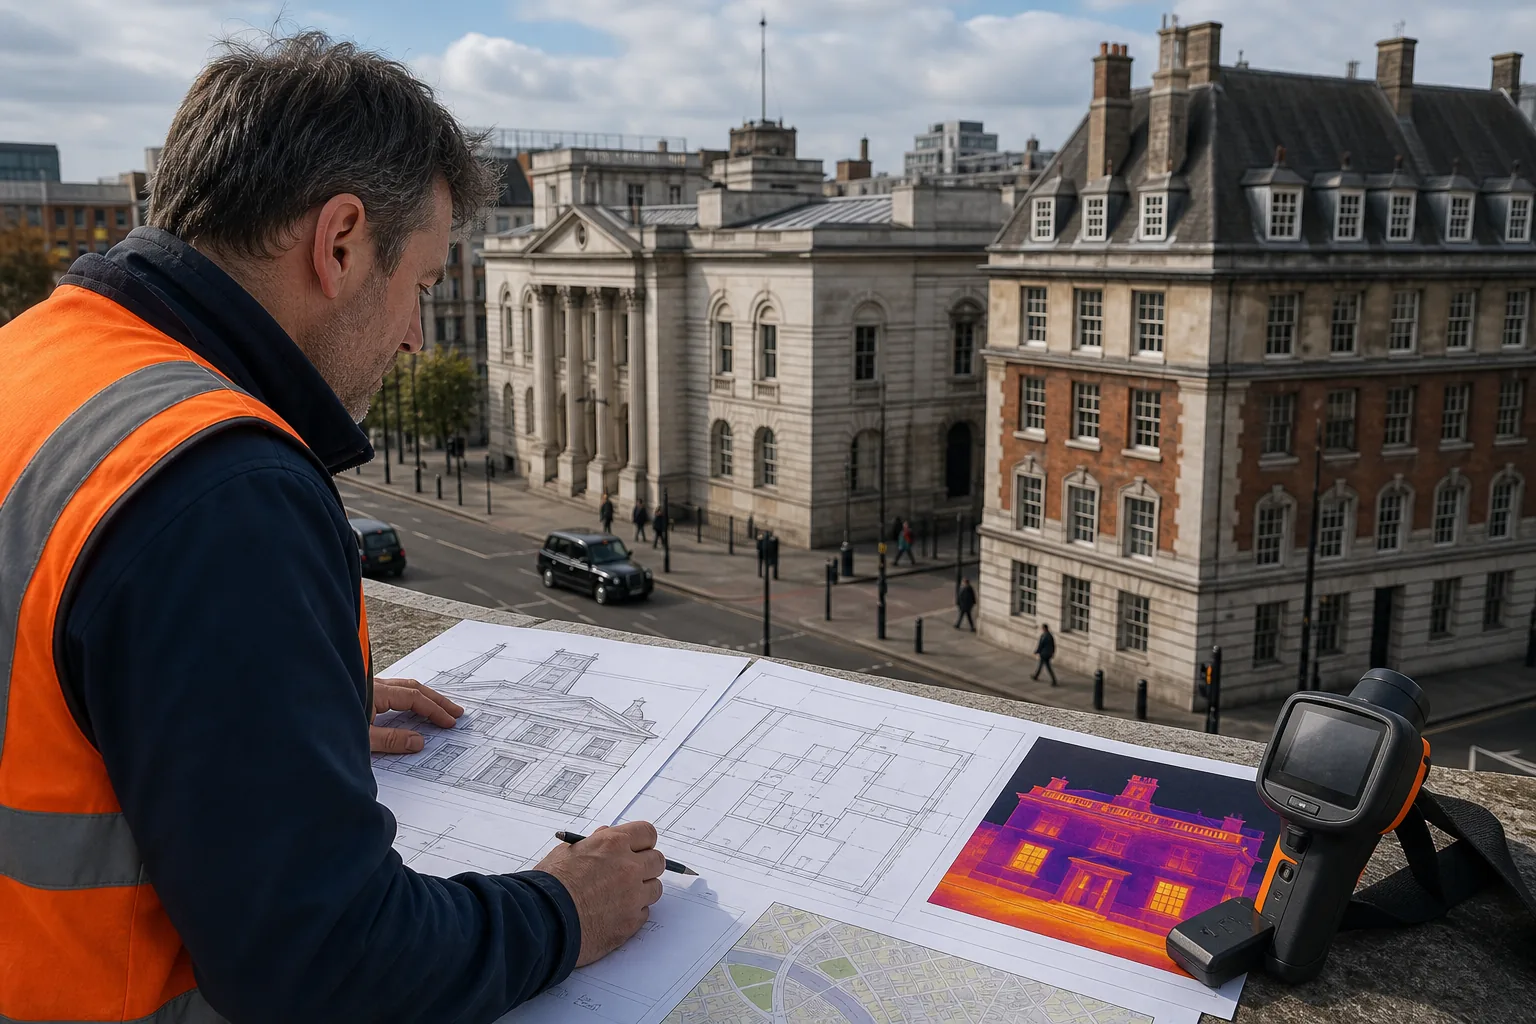
Thermal images can show heat loss, damp risk and insulation faults that a normal visual check misses. But a useful survey needs more than a camera. This building envelope thermal assessment guide sets out a clear process, from scope and safety planning to evidence-based repair priorities.
Visual Perspectives Limited uses thermal imaging with drone surveys, 3D mapping and visible inspection to give property teams a clearer record of building performance.
Step 1: Define the Assessment Scope and Objectives
Start by stating what the thermal assessment must find out. A clear scope stops a survey becoming a large folder of images with no clear action.
Write down the building, the areas to inspect and the reason for the survey. Your brief may focus on heat loss through an external wall, suspected damp, failed cavity insulation or a flat roof that shows signs of water ingress.
Also record the decision that the survey must support. For example, you may need to:
- rank defects across a school estate
- support a retrofit or decarbonisation plan
- check work after insulation repairs
- assess risk before a roof replacement
- provide evidence for a condition survey
Set the limits of the inspection. Decide whether it will cover the outside face, internal rooms, roof zones, plant areas or all accessible elevations. Note areas that need a cherry picker, scaffold or drone survey.
A thermal image is a map of surface temperature. It doesn’t prove the cause of a defect on its own. Your scope should therefore include supporting checks such as moisture readings, visible photographs, repair records and occupant reports.
For a public estate, link each finding to an asset reference. That makes it easier for a facilities team to move from a survey report to a planned work order.
General infrared survey guidance shows why your own survey brief must define equipment, site conditions and recording methods in advance.
By now you should have a written scope, a list of target defects and an agreed report audience. You’ll be in good hands when everyone knows what the survey must answer.
Step 2: Gather Building Information and Plan the Survey
A reliable building envelope thermal assessment starts before anyone turns on the camera. Gather records that explain how the building should perform.
Ask for drawings, elevations, construction details and previous survey reports. Include records of insulation upgrades, window replacement, roof repairs and reported damp. Energy bills may help show a change in performance, but they won’t identify the exact defect.
Build a site plan that marks:
- building orientation and exposed elevations
- roof type and roof access points
- plant rooms, kitchens and high-use spaces
- known leaks, cold rooms or condensation complaints
- restricted zones and public access routes
Check the weather window. Thermal contrast is needed to make patterns visible. Rain, strong sun, wind and sudden changes in indoor heating can affect the result. Record the conditions rather than hiding them in the final report.
Plan safe access too. A drone roof survey can reduce the need to work at height, but it still needs a flight plan, ground controls and a site risk assessment. Keep people away from the operating area. Check nearby roads, schools, hospitals and other sensitive sites before the visit.
Confirm the equipment list. It may include an infrared camera, visible-light camera, moisture meter, contact thermometer and drone. Review calibration status before the survey. Safety planning and equipment calibration should be completed before image capture.
For housing portfolios, agree how homes will be sampled and coded. A repeatable process matters more than a large pile of unrelated images. Visual Perspectives Limited can support estate-level work through Housing Stock Thermal Imaging Surveys | Social Housing, where findings need to connect to wider asset records.
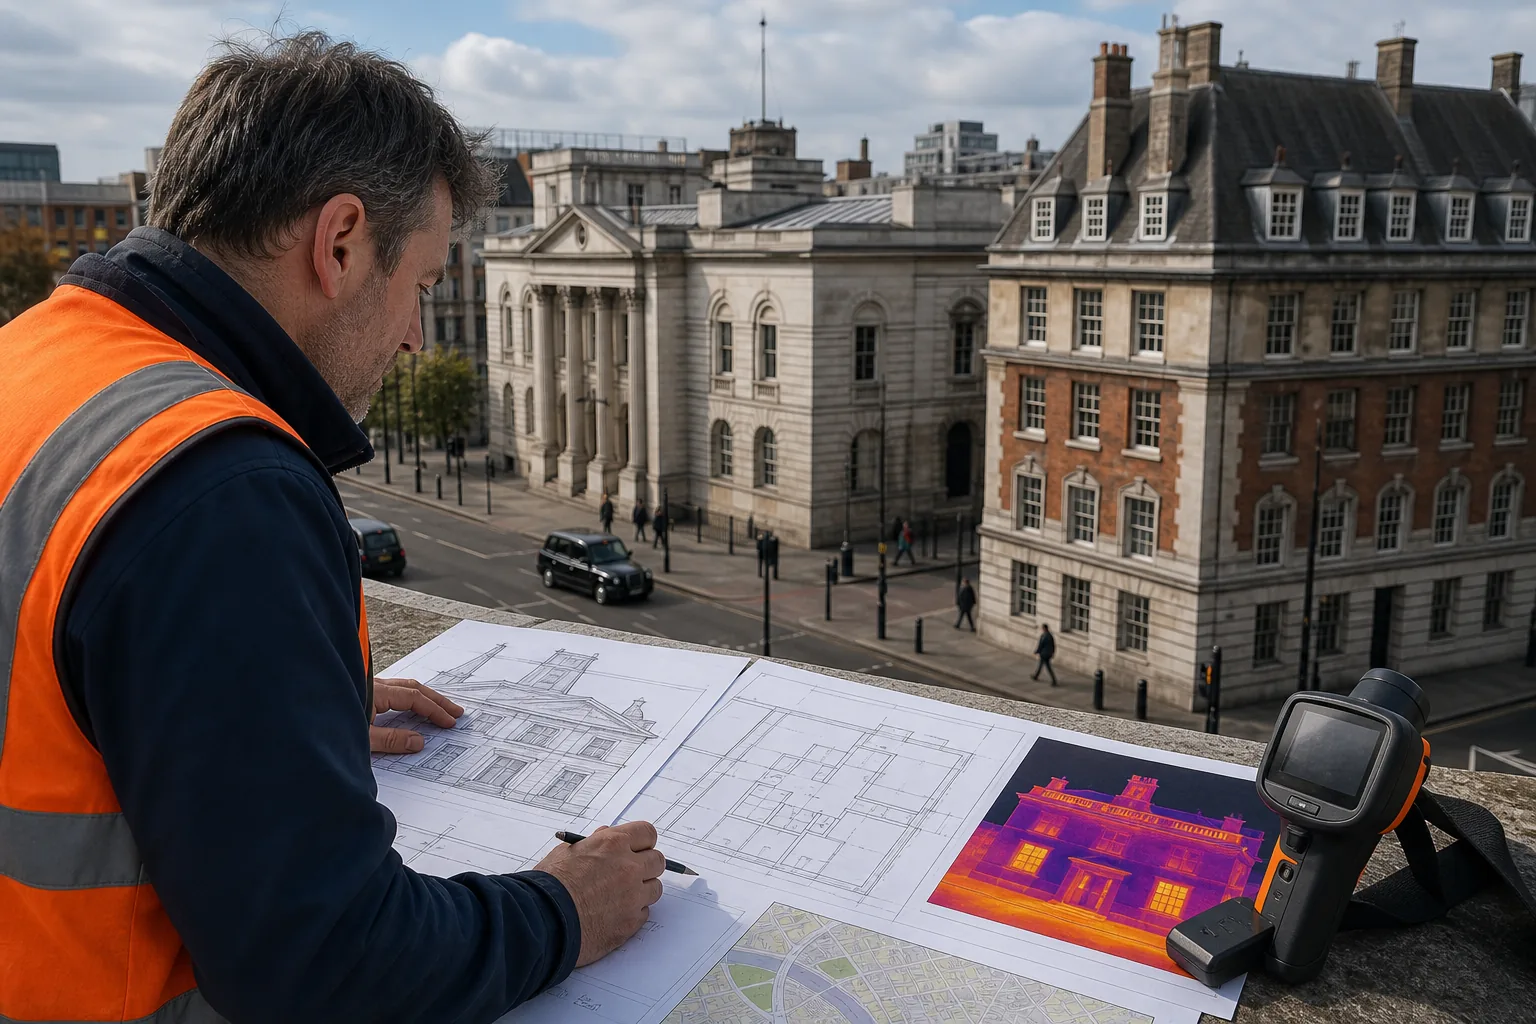
Prepare a room and elevation schedule before arriving. Give each image a location code. This small step saves time later, especially when several buildings look alike.
By now you should have the records, access plan, weather criteria and safety controls ready. You’ll be in good hands when the field team can focus on evidence instead of solving basic site issues.
Step 3: Carry Out Thermal Imaging and Supporting Inspections
During the survey, capture thermal evidence in a controlled sequence. The goal is a set of images that another person can understand and compare.
Begin with a short site briefing. Confirm the flight area, exclusion zone and emergency arrangements. Check the camera settings and record the make, model, lens and calibration details in the field notes.
Take visible images as well as infrared images. A thermal image may show a narrow cold line, but the matching visible image can reveal a slab edge, fixings, crack or open joint. Pairing both views makes later review much safer.
Work in a fixed route. Move around each elevation in the same direction and capture enough overlap to locate each image. For roofs, divide the surface into marked zones. A drone can record areas that are unsafe or hard to reach from the ground, including parapets and upper façade details.
Don’t treat every colour change as heat loss. Reflections from glass can mislead the camera. Wet surfaces may look different from dry ones. Wind can cool exposed walls, while sun can warm one elevation long after the weather has changed.
Support the thermal images with direct checks where safe and accessible:
- take moisture readings near suspected damp patterns
- check internal and external surface temperatures
- photograph joints, vents, outlets and roof details
- note heating state and room use
- record defects that need intrusive testing later
For drone work, Visual Perspectives Limited combines high-resolution aerial records with 3D mapping. Its Drone Surveys and Thermal Imaging | Visual Perspectives service is suited to teams that need a roof or façade record without relying on a single flat photograph.
Use a consistent file name for every capture. Include the asset code, elevation or roof zone, date and image number. Keep the original files. Exported images can lose information that matters during a later review.
ASTM C1060-11 gives a useful reference point for inspection practice, but it doesn’t remove the need for site-specific procedures. One documented gap is the process for recording anomalous images, so firms should define that method in their own standard operating procedure.
By now you should have paired thermal and visible images, field notes, site conditions and access records. You’ll be in good hands when the evidence can be traced back to a precise place on the building.
Step 4: Interpret Thermal Patterns Alongside Building Evidence
Interpretation is where a building envelope thermal assessment becomes useful. Read each thermal pattern beside the building detail, weather record and supporting inspection.
Look for repeated shapes first. A vertical cold strip may follow a structural column or a window jamb. A horizontal band may match a floor slab. A patch near a roof outlet may point to water retention, but it needs a moisture check and a review of recent weather.
Compare like with like. An internal wall beside a heated room cannot be read in the same way as an external wall exposed to wind. Compare adjacent rooms with similar use. Compare matching elevations where the sun and wind conditions are similar.
Classify the pattern before naming the cause. The table below gives a working decision view.
| Thermal pattern | Possible building issue | Evidence to check next | Initial action |
|---|---|---|---|
| Thin, repeated cold lines | Thermal bridging at joints or structure | Construction details and visible façade features | Map the line and assess continuity |
| Large uneven wall areas | Insulation gaps or varied wall build-up | Wall type, repair history and moisture readings | Plan targeted opening-up if risk is high |
| Localised roof patches | Moisture retention or insulation change | Drainage, roof age and recent rainfall | Inspect roof layers before repair |
| Cold bands around openings | Air leakage or weak window junctions | Seal condition and internal surface readings | Test and seal only after diagnosis |
Thermal imaging cannot tell you the full wall build-up. It can show an unusual surface pattern that deserves further checks. This distinction matters when you assess failed cavity insulation or plan external wall insulation.
Use moisture data with care. A wet area may appear warmer or cooler depending on the material, weather and heat flow. A damp pattern isn’t proof of a leak. It is a reason to trace the moisture path.
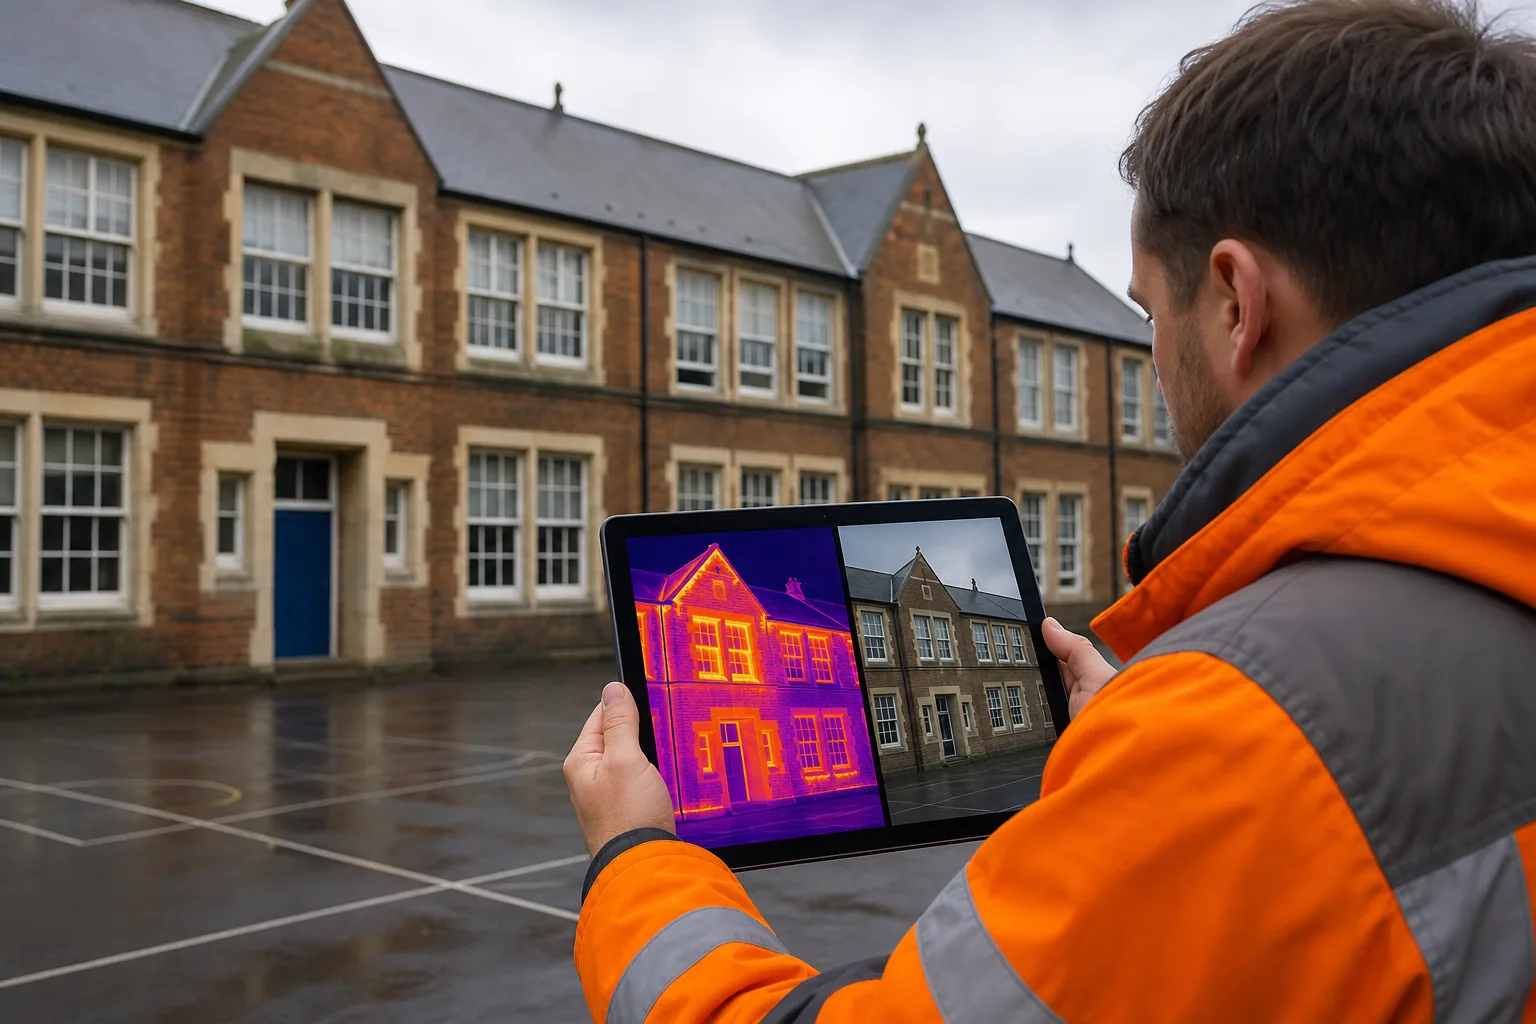
A recent inspection should result in a defect hypothesis, not a guess. State what the image shows, what it may mean and what test would confirm it. Pair thermal evidence with visible observations and moisture readings.
For flat roofs, the difference between a warm and cool patch may depend on the roof build-up and the time since rainfall. The thermal image needs roof context before a repair decision.
Record confidence as well. Use terms such as confirmed, likely or requires further investigation. That keeps a capital plan honest and stops a single image from driving an expensive intervention.
By now you should have a reasoned interpretation for each priority pattern, plus a clear list of tests still needed. You’ll be in good hands when the report separates evidence from assumption.
Step 5: Prioritise Remedial Actions and Produce an Evidence-Based Report
The final step turns findings into work that a property team can manage. Rank actions by risk, consequence and confidence in the diagnosis.
Separate urgent defects from energy improvements. A suspected water entry point may need attention before insulation work. A thermal bridge may need design review rather than a quick seal. A cold wall pattern may need opening-up before anyone specifies external wall insulation.
Use a simple action score. Consider:
- risk to occupants or building safety
- likelihood of fabric damage
- effect on energy use and comfort
- cost and access needed to confirm the cause
- benefit of completing the work with another project
Write each finding in a repeatable format. Include the asset reference, location, image pair, observed pattern, likely cause, confidence level and recommended next action. Add weather conditions and limitations where they affect interpretation.
For a portfolio, include a summary sheet that shows the number of findings by building and action type. Keep the full image record behind it. This lets senior managers see priorities without losing the detail needed by surveyors.
Set out deliverables before the survey begins. A useful package may include thermal images, visible photographs, a marked 3D model, an immersive tour and a written report. The research behind this method shows that deliverables are often poorly defined, so the client should agree file formats and naming rules at the start.
Visual Perspectives Limited provides independent drone and thermal inspection work across the UK. We can help property asset managers, surveyors and public sector estates teams build a record that supports retrofit planning, maintenance and decarbonisation decisions.
Where air movement may affect the result, the building team may also need separate duct checks or HVAC review. How to seal air ducts to improve energy efficiency may be relevant to that follow-up work, but it should not replace an envelope inspection.
Use the report to assign owners and dates. A finding without a next action soon becomes another forgotten attachment. By now you should have a ranked work plan, a traceable evidence set and a clear route to further testing. You’ll be in good hands when the survey feeds the maintenance system rather than sitting apart from it.
FAQ: Building Envelope Thermal Assessments
What is a building envelope thermal assessment?
A building envelope thermal assessment uses infrared imaging to examine heat patterns across walls, roofs, windows and junctions. The images can show unusual heat loss, thermal bridges or patterns linked to moisture. A sound assessment also uses visible photographs, weather records and supporting checks. This guide treats thermal images as evidence that needs interpretation, not as a stand-alone diagnosis.
Can thermal imaging detect damp in walls?
Thermal imaging can identify temperature patterns that may be linked to damp, but it cannot confirm damp by itself. Moisture readings, visible inspection and knowledge of recent weather are needed. Wet materials can behave differently according to the wall build-up and heat flow. Use the image to target further checks, especially around leaks, roofs and insulation defects.
Is a drone survey better than a handheld thermal survey?
A drone survey is useful for high façades, roofs and areas where access would add risk or cost. A handheld survey is often better for rooms and close inspection of accessible details. The best choice depends on the defect, height and site conditions. Many building envelope assessments use both methods so the evidence covers hard-to-reach and internal areas.
What should a thermal assessment report include?
A thermal assessment report should include asset references, paired thermal and visible images, survey conditions and a clear interpretation of each finding. Add confidence levels, limitations and recommended next steps. For larger estates, include a priority schedule and mapped locations. Agree file formats before work starts, since report deliverables are often left too vague.
How often should a building envelope thermal assessment be repeated?
The right interval depends on building risk, weather exposure, defects and planned work. Repeat a survey after a major repair when you need to check the result. Consider a baseline survey for a portfolio, then revisit high-risk assets through planned maintenance. A repeatable method matters more than a fixed calendar interval.
Conclusion
Plan the survey around a decision, control the capture conditions and interpret every thermal pattern with building evidence. For complex roofs, façades and public estates, an independent inspection from Visual Perspectives Limited can provide the mapped record needed to prioritise maintenance and retrofit. Start by choosing one building, gathering its records and defining the questions the survey must answer.